

Focus Stacking in the Field: An Introduction to Helicon Focus (Part 1)
Focus Stacking in the Field

“Little Fella” Using Helicon Focus to focus stack Macro Photography
In this first instalment, I’m beginning an exploration into focus stacking using Helicon Focus, combined with a workflow that integrates seamlessly with Adobe Lightroom Classicon Mac OS. The image series featured here was captured in the lush, shaded environment of Coachwood Glen and around Mermaid’s Cave in the Blue Mountains—an ideal location for macro work, with its rich textures of moss-covered fallen logs and intricate natural detail.
For this shoot, I used the Canon EOS R6 Mark III paired with the Canon EF 100mm f/2.8L Macro IS USM. Shooting macro at such close distances—often within 1–2 cm of depth—means working with an extremely shallow depth of field. Even at narrower apertures, only a thin plane of focus is rendered sharply. This is where focus stacking becomes essential: by capturing multiple images at slightly different focus distances, we can later combine them into a single image with front-to-back sharpness.
Capturing the Stack In-Camera
Using the in-camera focus bracketing feature, I set the camera to capture a sequence of 20 images. Starting with focus on the nearest point of the subject, the camera automatically shifted the focus incrementally deeper into the scene with each shot. A tripod is essential here—any movement between frames can introduce alignment issues later in the stacking process.

20 shot focus stacked image set in Adobe Lightroom shot with Canon R6 Mkiii
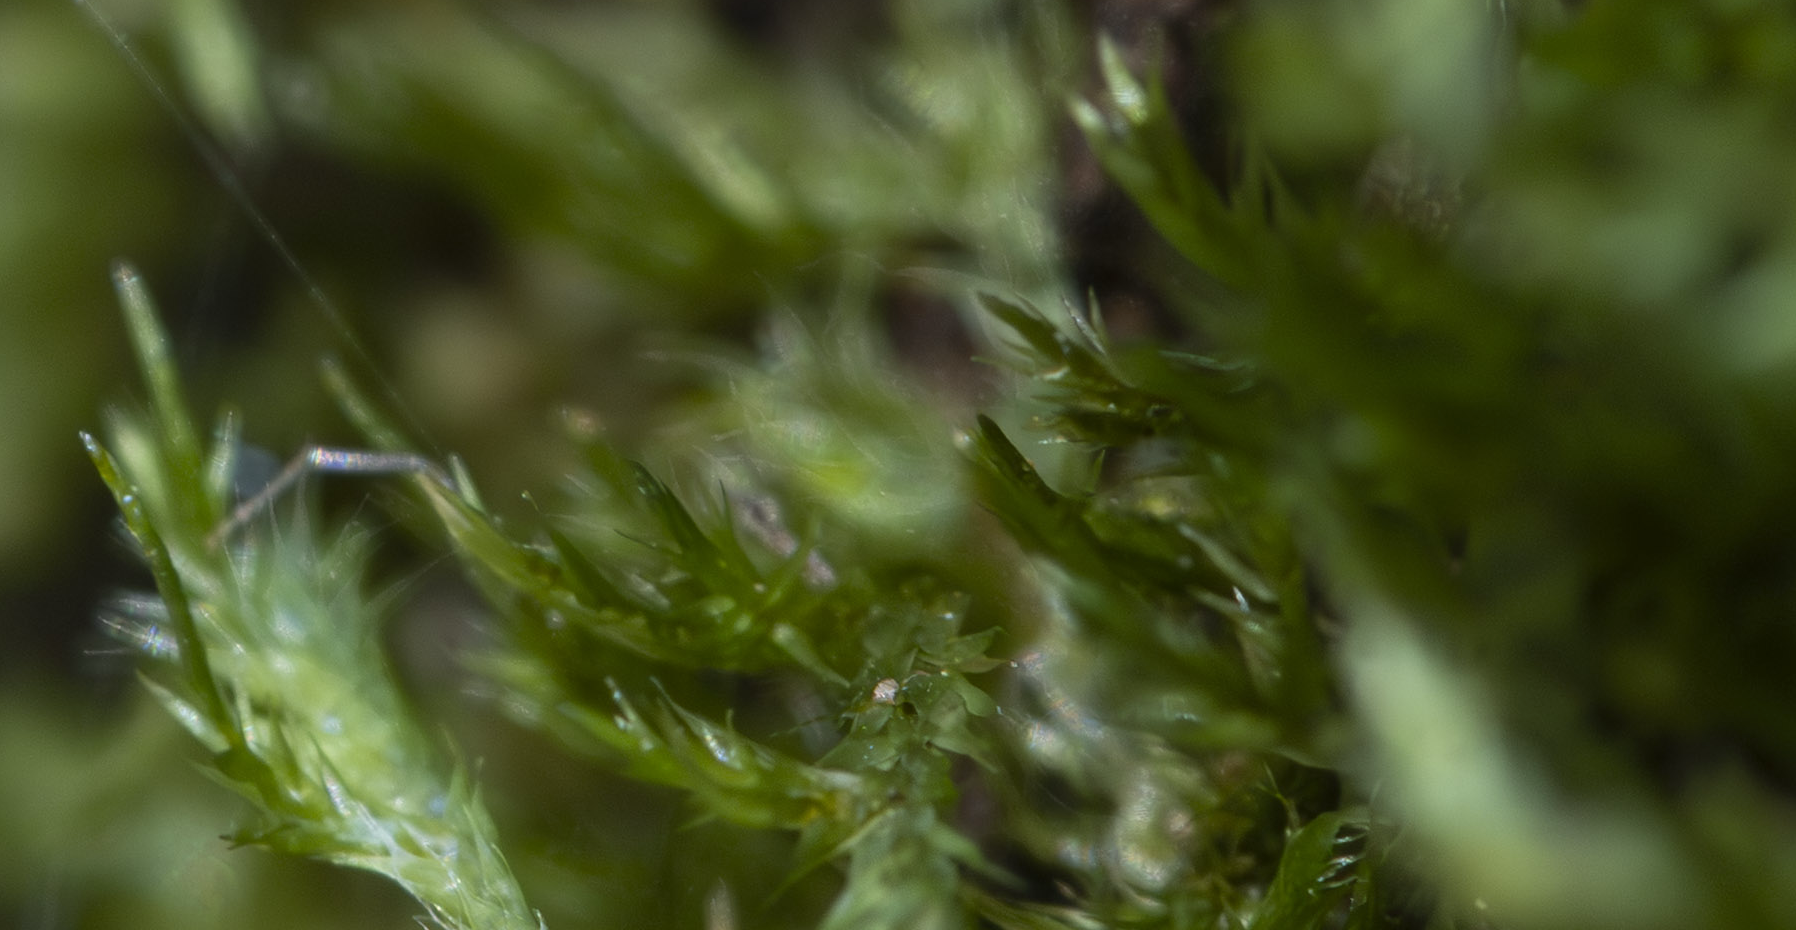
This particular subject—a moss-covered log—contained layers of detail: tiny filaments, moisture, and even fine strands resembling spider silk. These micro-elements are exactly the kind of detail that benefits from stacking, as they exist across multiple focal planes that a single exposure simply cannot capture.
Processing with Helicon Focus
The workflow from Adobe Lightroom Classic to Helicon Focus is straightforward. After selecting the 20-image sequence in Lightroom, I exported them directly into Helicon Focus for rendering.
For this initial test, I used Method B (Depth Map) within Helicon Focus. This method constructs a depth map of the image and blends the sharpest areas from each frame into a composite. The results so far have been promising, particularly in preserving fine detail across the image.
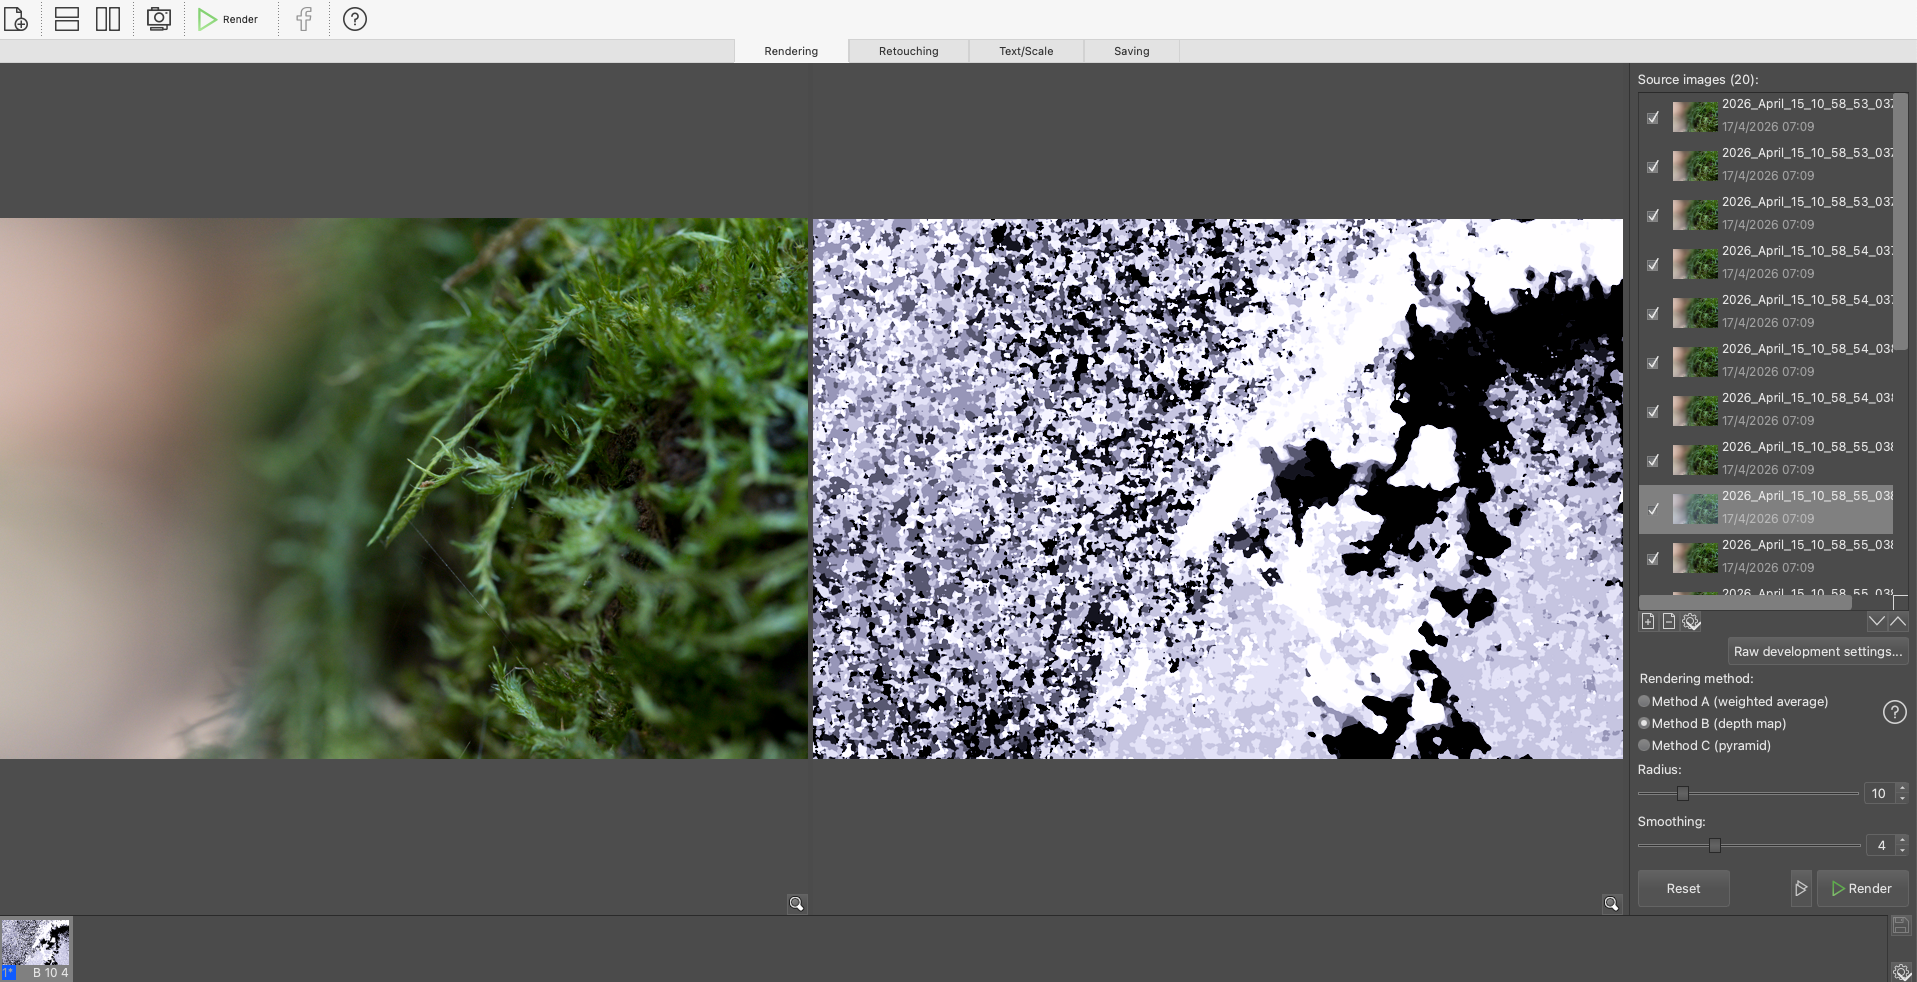
Helicon Focus Processing Using Method B
Once rendered, the stacked image was saved as a DNG file and automatically re-imported into Lightroom for further editing.
Noise vs Sharpness: Early Observations
One of the key challenges in this session was shooting in low light. Deep within the forest environment, I needed to push the ISO up to 3600. This introduced noticeable noise across the image set.
I experimented with two approaches:
• No noise reduction prior to stacking
This preserved detail but resulted in a noisier final DNG.
• Applying noise reduction before stacking
This reduced visible noise but noticeably softened fine details—particularly the delicate, thread-like strands within the moss.

Noise reduction applied in Lightroom Classic before processing in Helicon Focus
Noise Reduction and Sharpening applied in Lightroom Classic then processed in Helicon Focus. Some softening of details observed.
A third approach proved more successful: turning off both sharpening and noise reduction entirely before sending the images to Helicon Focus. This resulted in a much sharper composite image, with fine details—like the subtle spider silk threads—clearly defined. While noise was still present, it’s something that can be addressed later in the Lightroom workflow without sacrificing sharpness.

Lightroom Classic
Lightroom Classic - removing noise reduction and sharpening before processing in Helicon Focus.
Reflections (So Far)
This initial exploration highlights an important balance in macro focus stacking: preserving micro-detail versus managing noise. At this stage, it seems preferable to prioritise sharpness during stacking and handle noise reduction as a final step in post-processing.
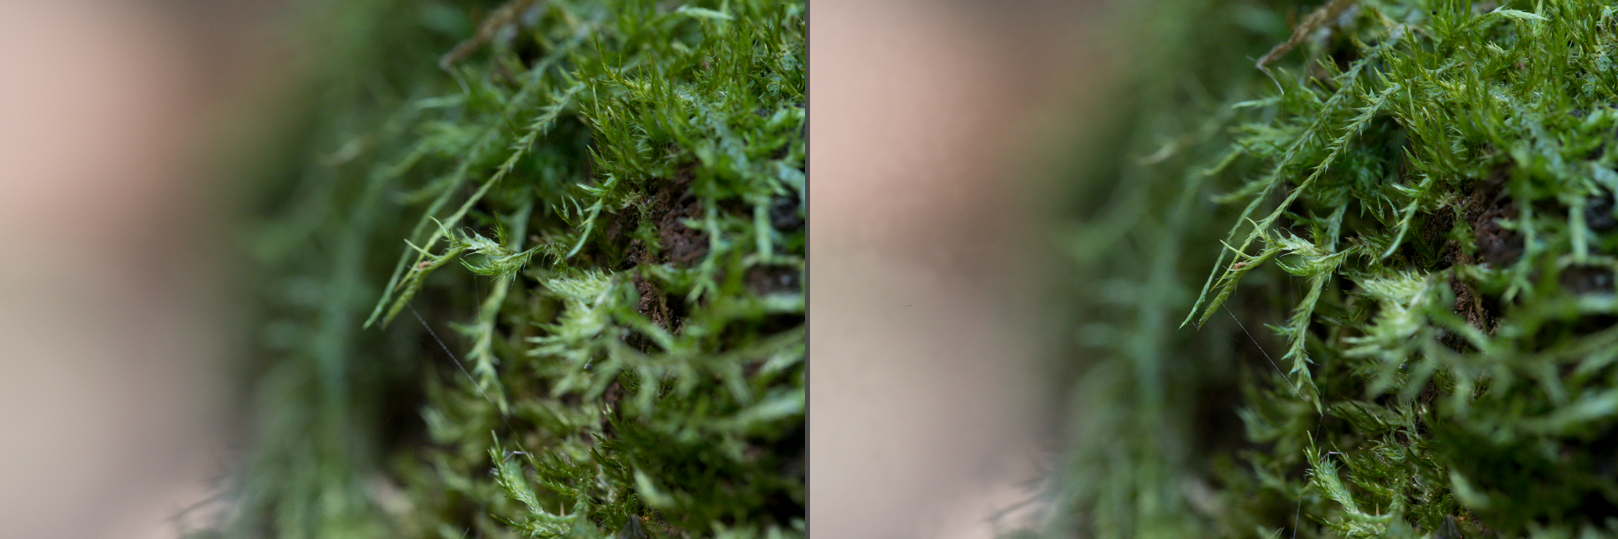
Helicon Focus processing: Before (Left) — After (Right)
There’s still much to explore—particularly around Helicon’s rendering settings, radius and smoothing parameters, and how different preprocessing choices, such as in Lightroom, impact the final image.
In Part 2, I’ll dig deeper into refining the workflow, exploring alternative rendering methods, and optimising settings for even cleaner, sharper results.