

Refining the Stack: Retouching in Helicon Focus (Part 2)
Refining the Stack: Retouching in Helicon Focus (Part 2)
In Part 1, I explored the capture process and initial rendering workflow using Helicon Focus in combination with Adobe Lightroom Classic. While the results from Method B (Depth Map) were promising, one of the key takeaways was that not every detail in the final composite is always as sharp as it could be—particularly when working with extremely fine elements like spider silk.
This is where Helicon Focus’s retouching tools become an essential part of the workflow.
Why Retouching Matters in Focus Stacking
Helicon Focus Retouching Tools
Even with a carefully captured stack, there are moments where the algorithm may not select the sharpest possible pixels from across the image sequence. In my case, a very fine spider web stretched delicately between sections of moss. While visible in the final render, it lacked the crispness I knew was present in at least one of the original frames.
Because focus stacking works by blending “slices” of focus, extremely fine structures can sometimes fall between those slices—or be softened slightly during rendering. Retouching allows you to manually override those decisions.
The Retouching Workflow
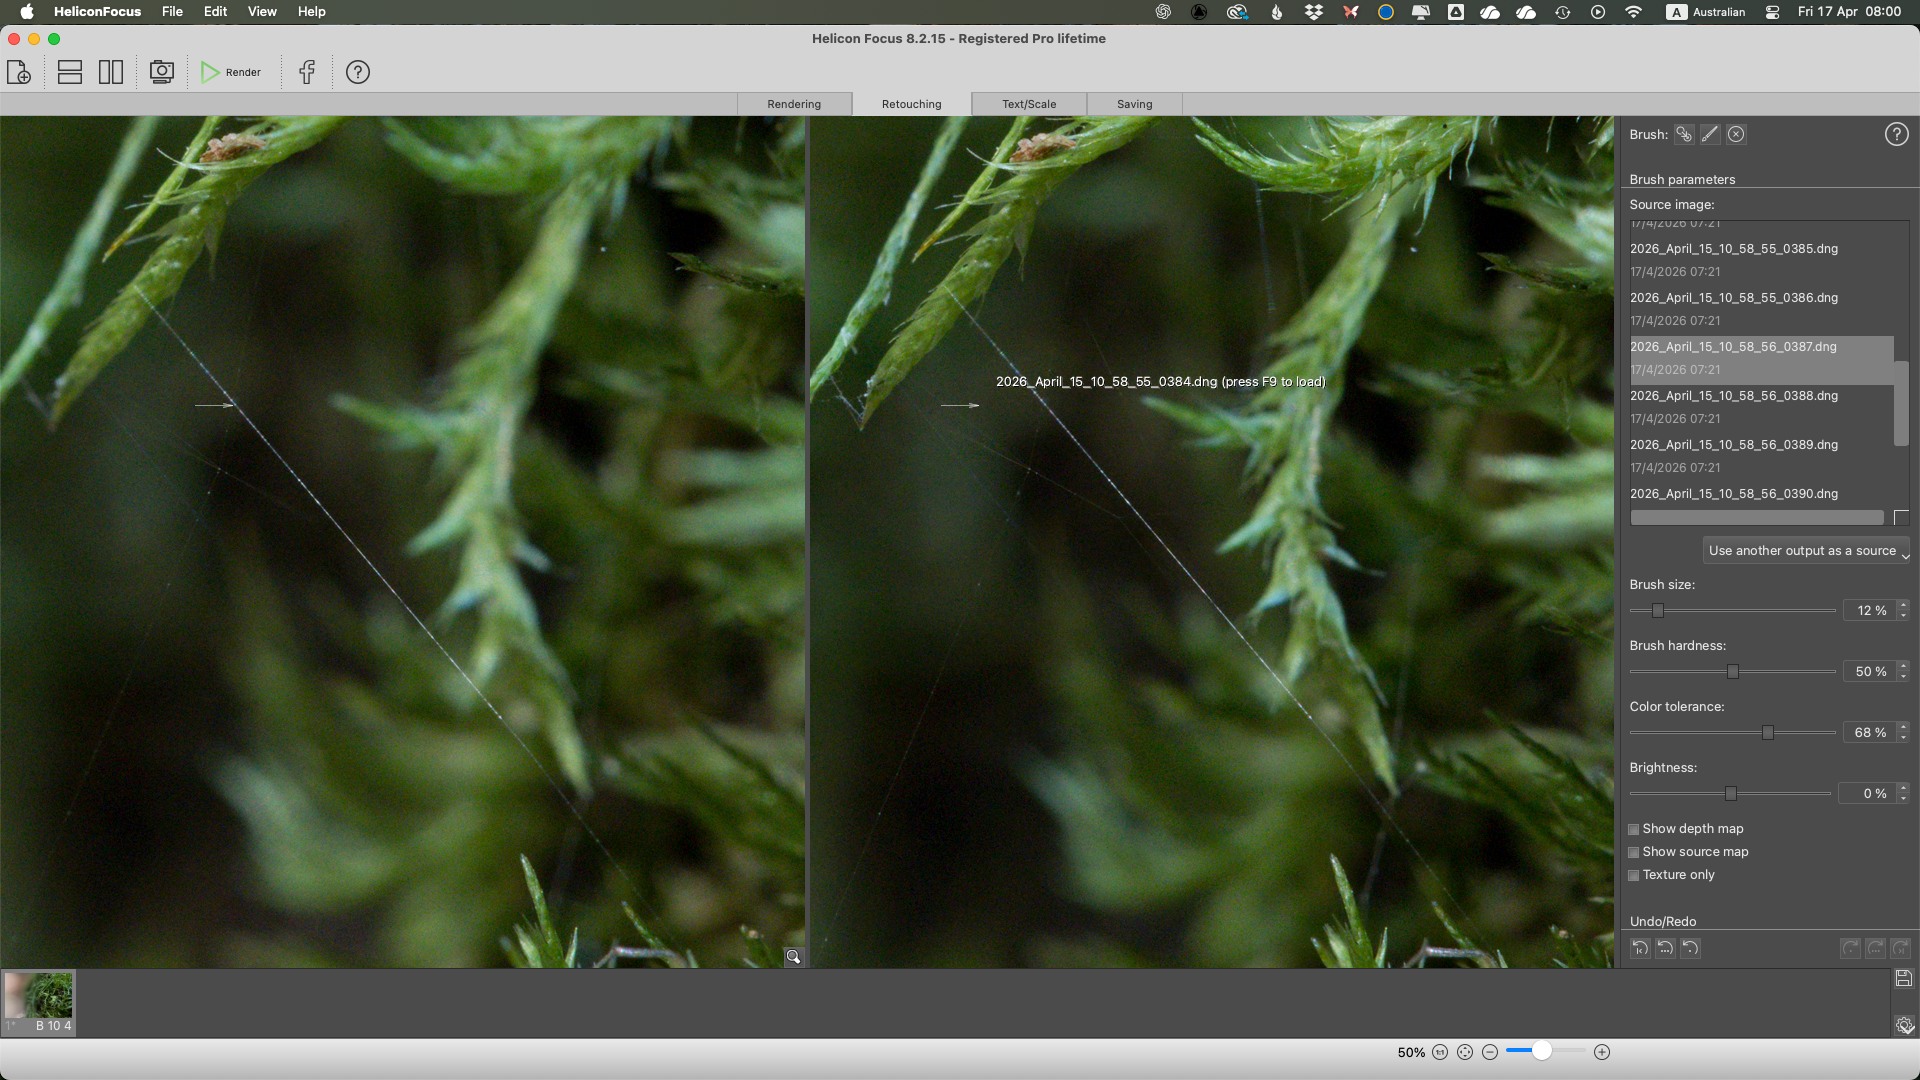
Helicon Focus provides a brush-based retouching system that feels familiar if you’ve used tools in Photoshop or Lightroom. The process is straightforward in principle:
• Review your original stack of images within Helicon Focus
• Identify a frame where the detail you want (in this case, the spider web) appears sharper
• Select that image as your source
• Use the brush tool to paint that sharper detail into the final rendered image
Helicon Focus with the Brush Tool
In this instance, I located one of the 20 images where the spider thread was noticeably more defined across its full length. Using the retouching brush, I selectively painted over the web in the final composite, effectively replacing the softer version with a sharper one from the source frame.
Fine Control: Brush Settings
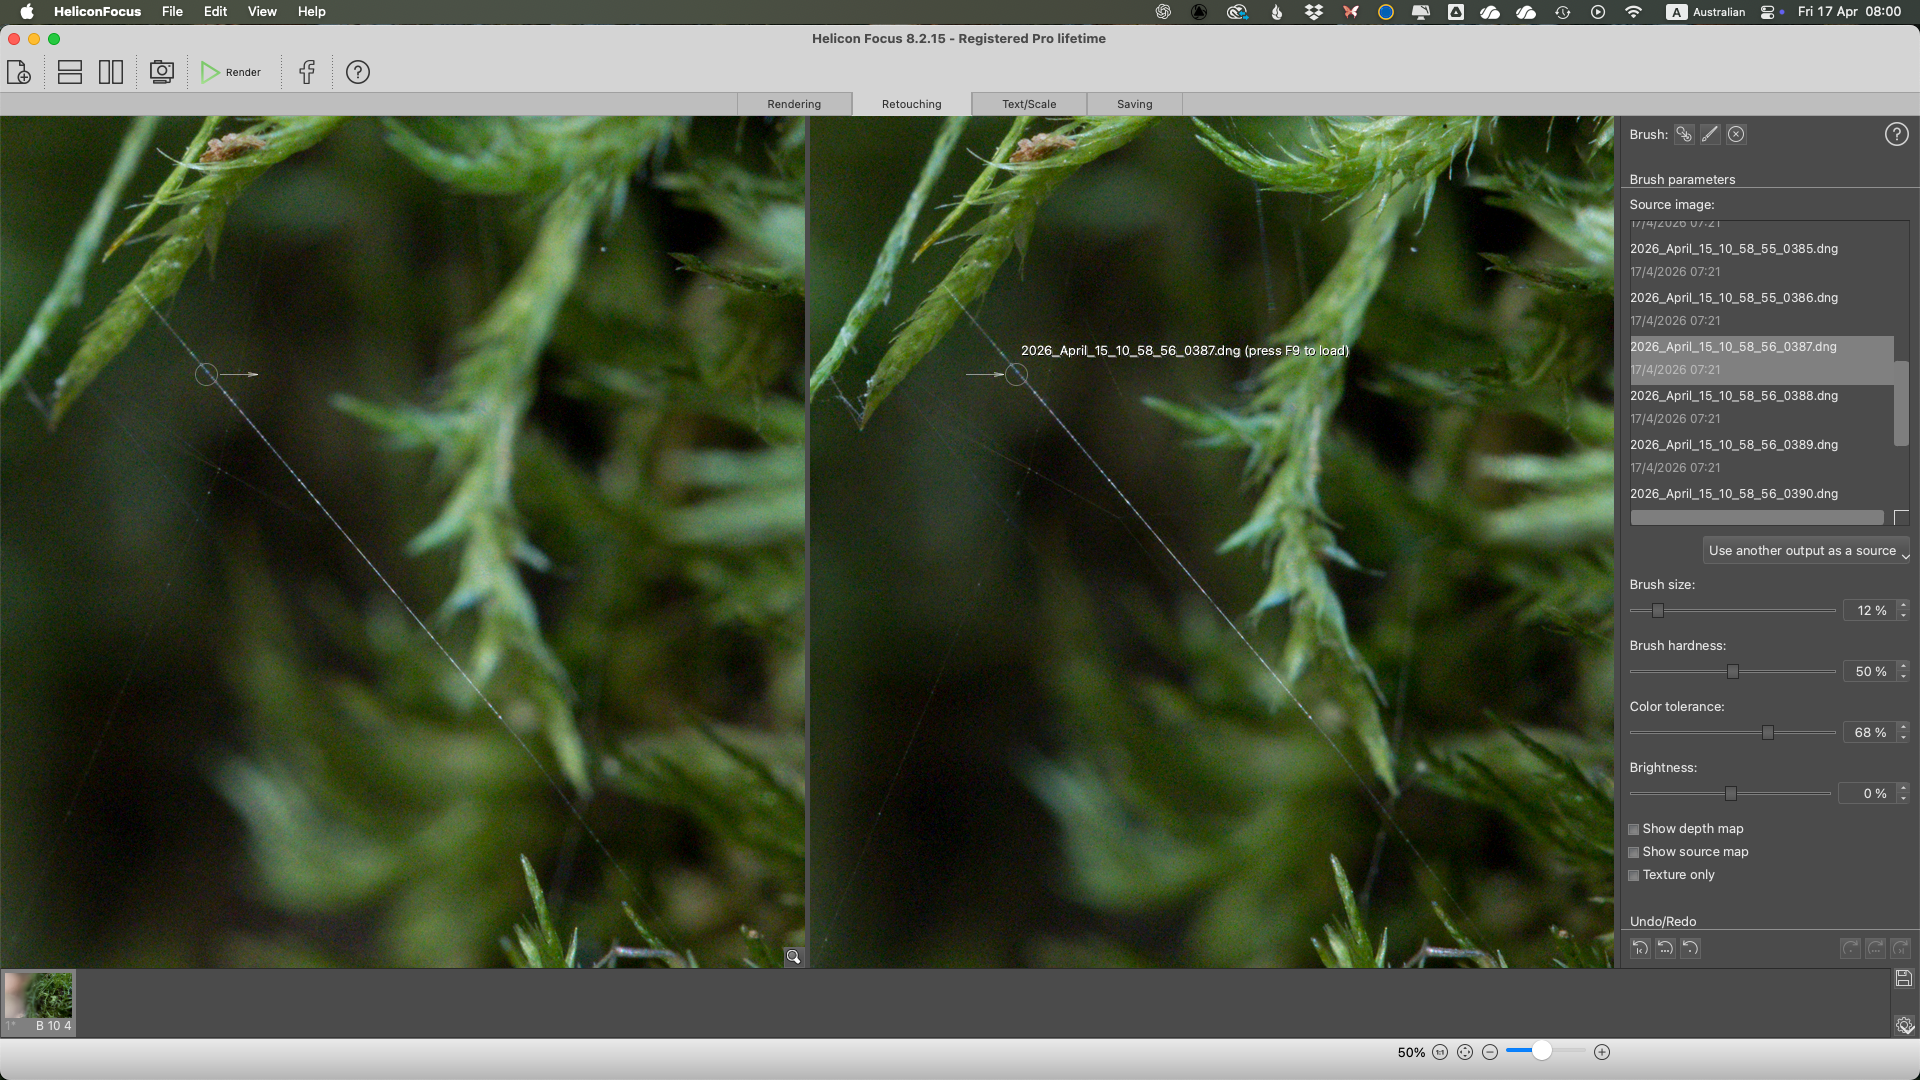
Where this process becomes more nuanced is in the brush settings. With subjects this delicate, small adjustments make a significant difference:
• Brush Size
A smaller brush is essential when working on fine structures. If the brush is too large, it will affect surrounding areas and introduce unwanted blending.
• Brush Hardness
Softer brushes tend to produce more natural transitions, especially for organic textures like moss. A harder brush, while precise, can create visible edges or “cut-out” artifacts.
• Colour Tolerance
This setting helps constrain the brush to similar tones and colours, preventing spill-over into adjacent areas. It’s particularly useful when isolating something like a pale spider thread against a darker background.
Avoiding Artifacts
One of the key challenges I encountered was artifacting, particularly when the brush was too large or too hard. As I painted over the spider thread, I initially noticed faint outlines or halos appearing along either side of the strand.

Helicon Focus - too much brush.
This was caused by the brush affecting pixels beyond the thread itself.
The solution came down to refinement:
• Zooming in closely to the area being retouched
• Reducing brush size to closely match the thickness of the thread
• Lowering brush hardness for a more subtle blend
• Carefully building up the retouch rather than applying it in one pass
Once these adjustments were made, the results were significantly cleaner, with the spider thread appearing sharp and naturally integrated into the image.
Integrating Back Into the Workflow
After completing the retouching process, the image can be saved again as a DNG and returned to Adobe Lightroom for final adjustments, such as noise reduction, contrast, and tonal work.
At this stage, the image benefits from both the global sharpness of focus stacking and the local precision of manual retouching.
Reflections on the Process
This stage of the workflow highlights an important shift:: moving from automated rendering to intentional, detail-oriented refinement. While Helicon Focus does an excellent job of building a sharp composite, the retouching tools allow you to step in and make creative and technical decisions about what should be sharp.
In macro photography, where millimetres matter, this level of control is invaluable.
See more blog posts about Blue Mountains Photography locations and ideas.
Mermaid’s Glen and Macro Photography