

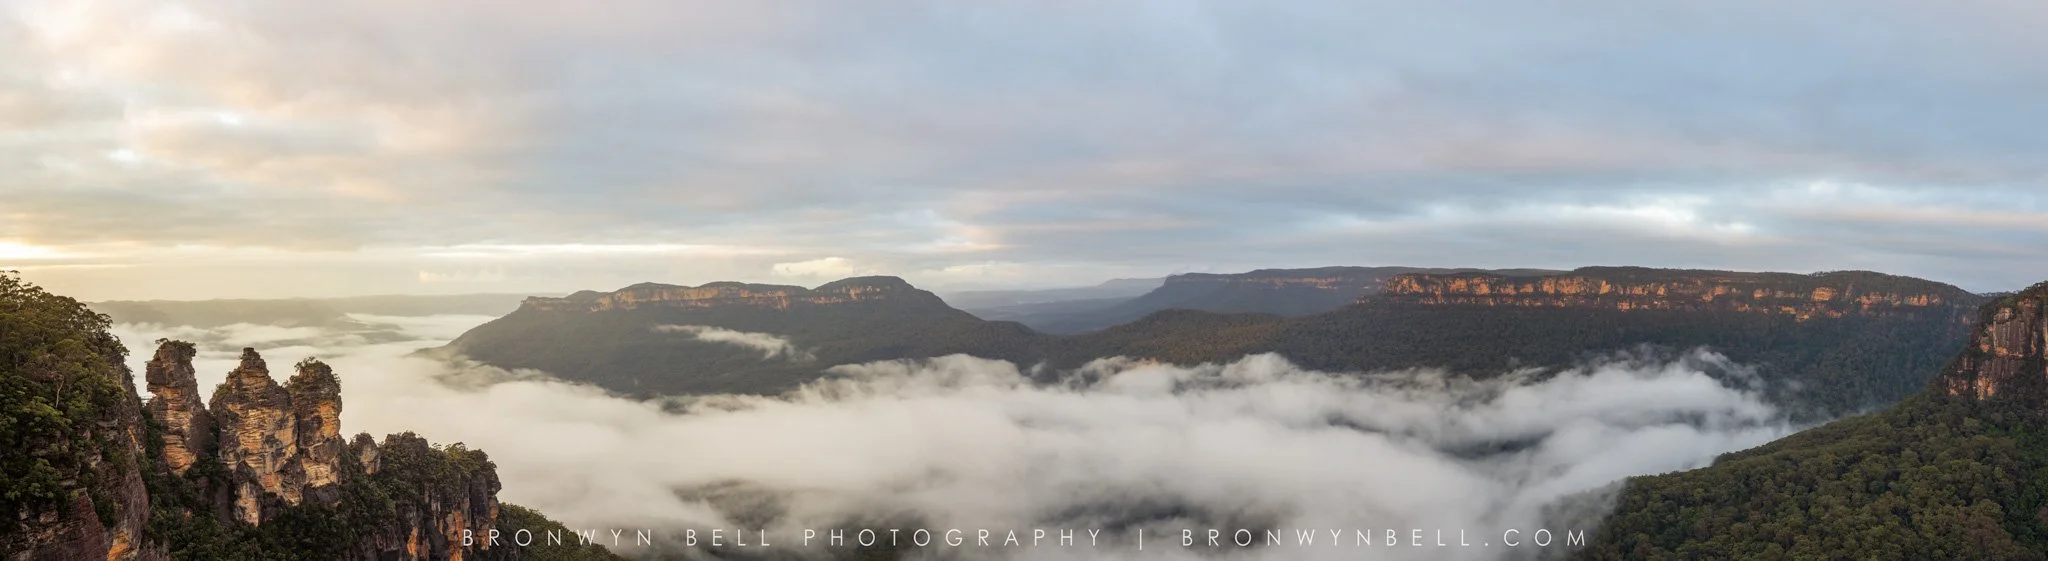
Post-processing is an important part of my landscape photography workflow, particularly when working with high-contrast scenes where the sky and landscape require slightly different treatments. For this panoramic photograph of Jamison Valley in the Blue Mountains, I used Adobe Photoshop to combine two differently processed RAW files, bringing together the best colour and tonal detail from each exposure.
The final image began as a series of images taken in vertical orientation (using my Small Rig L-Bracket to re-orient the camera). In total there were 29 images combined in Adobe Lightroom to create an HDR Panoramic Image.
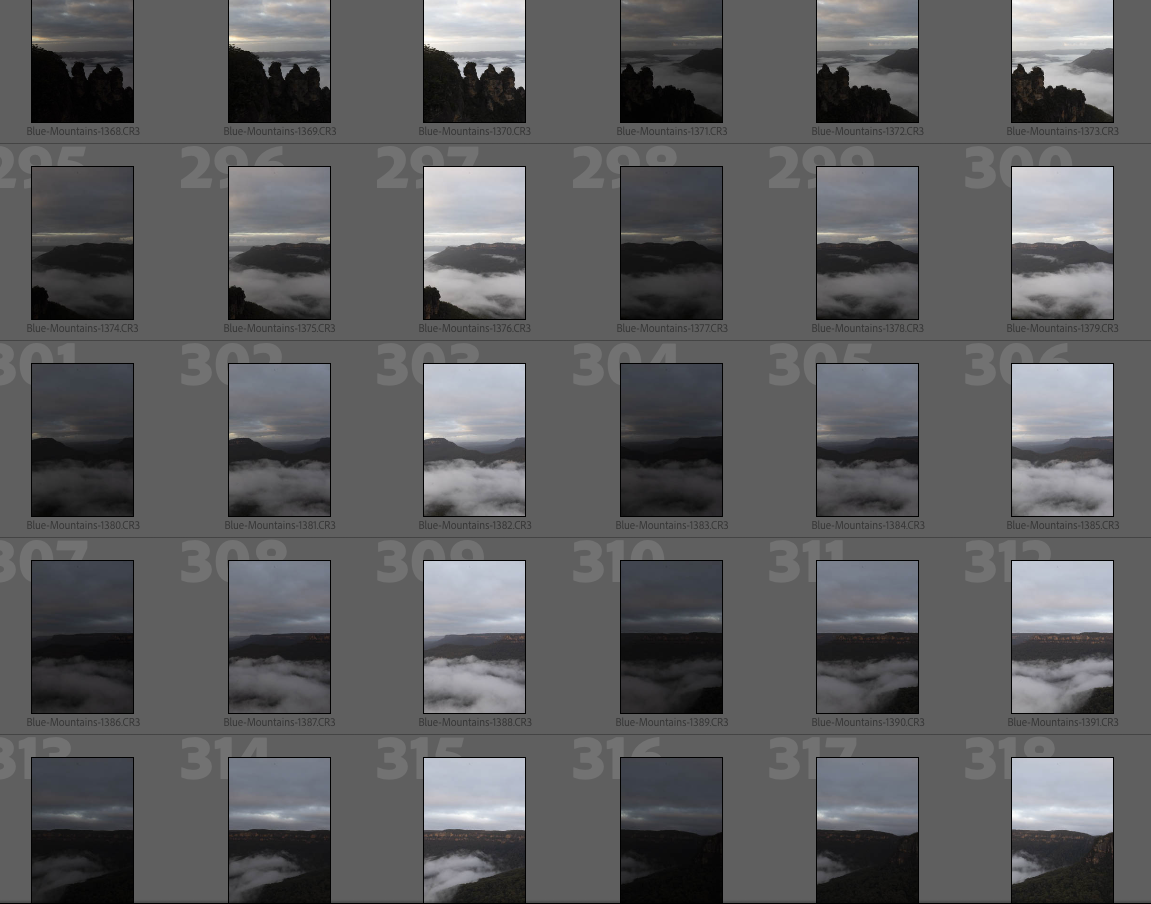
Adobe Lightroom HDR Panorama Merge
Adobe Lightroom catalogue with multi image exposure blending of multi images for a panoramic imageOnce Lightroom created the HDR panoramic as a .dng, I undertake some basic RAW adjustments and noise reduction before exporting two versions of the image to Photoshop. One version is adjusted slightly to bring out the natural colours and tones of the landscape, while the second version I adjust to enhance the sky colours and clouds.
In Photoshop, I blend two Raw versions together to create a more balanced final image. the blending is achieved using a soft brush and gently painting and feathering in the sky to ensure a smooth transition from landscape to sky. in this instance, I didn’t feel that creating a more defined mask to separate the landscape from the sky would have the gentle transition I wanted, so I hand-blended the two scenes. From there, most of my tonal adjustments are made using adjustment layers, particularly with Curves and Tony Kuyper’s Luminosity Masks. These masks allow me to target specific tonal ranges, making it possible to refine highlights, shadows and midtones while maintaining a natural appearance.
I also use dodging and burning to subtly direct light through the image, enhancing depth and drawing attention to particular areas of the landscape. My approach is to follow the natural direction and quality of light already present in the photograph rather than creating an artificial or overly processed look. A few final adjustments to saturation and contrast help bring the image together.
A Photoshop tip: When using Curves adjustment layers for tonal changes, I generally set the layer blending mode to Luminosity. Curves adjustments can unintentionally increase or decrease existing colour saturation, so using Luminosity blending mode helps preserve the underlying colours while allowing me to adjust brightness and contrast independently.
I’ve included a sped-up video below showing my editing process in Photoshop, including the dual-processing blend, luminosity masking, Curves adjustments and selective dodging and burning.
The aim is not to dramatically transform the photograph, but to refine the light, colour and tonal balance while retaining the natural atmosphere of Jamison Valley.
